

How do you install windows in a movable container home?
Aug 15, 2025
Leave a message
Hey there! As a supplier of Movable Container Homes, I often get asked about how to install Windows in these nifty little dwellings. It might seem like a tricky task, but with the right know - how, it's actually quite doable. So, let's dive right in and explore the steps to install windows in a movable container home.
Why Windows Matter in a Container Home
First off, why are windows so important in a movable container home? Well, they're not just there to look pretty. Windows let in natural light, which can make your home feel more spacious and inviting. They also provide ventilation, helping to keep the air fresh and reducing humidity. And of course, they give you a view of the outside world, whether it's a beautiful garden or a bustling cityscape.
Choosing the Right Windows
Before you start the installation process, you need to choose the right windows for your container home. There are a few things to consider here.
Size
The size of the windows is crucial. You need to measure the openings in your container carefully. Remember, container homes come in standard sizes, and you'll want to make sure your windows fit snugly. You don't want any gaps that could let in drafts or water.
Type
There are different types of windows you can choose from. Casement windows are a popular option as they open outward, providing good ventilation. Double - hung windows are also great as they can be opened from the top or the bottom. If you're short on space, sliding windows might be the way to go.
Material
Windows can be made from various materials, such as wood, vinyl, or aluminum. Wood gives a warm, natural look but may require more maintenance. Vinyl is low - maintenance and energy - efficient. Aluminum is durable and lightweight. Choose the material that suits your style and budget.
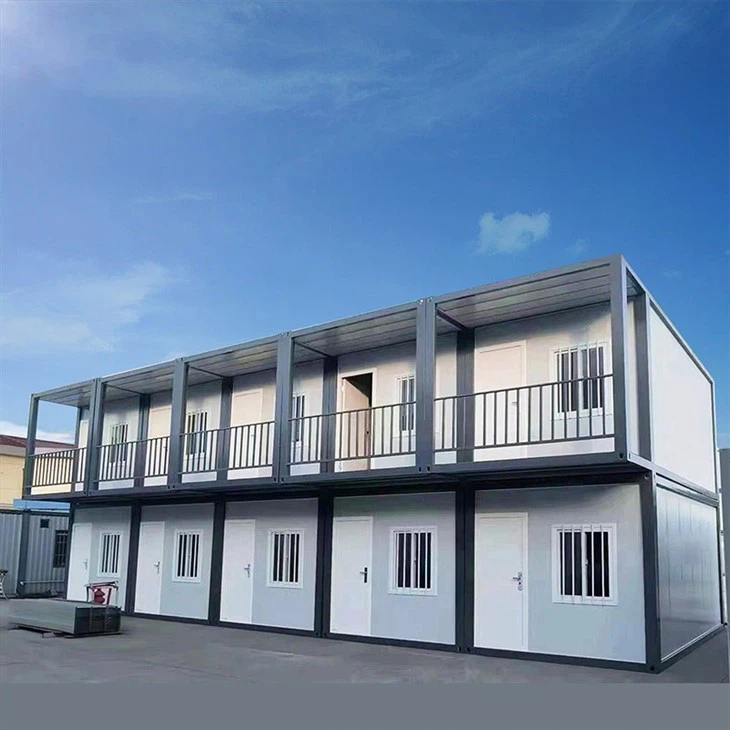
You can check out some cool options for different types of container homes like Modular Container Homes, Portable Container Homes, and Foldable Container Home to get an idea of the windows they usually have.
Tools and Materials You'll Need
Once you've chosen your windows, it's time to gather the necessary tools and materials. Here's a list of what you'll likely need:
- Measuring tape: To ensure accurate measurements.
- Circular saw or reciprocating saw: For cutting the opening in the container if needed.
- Screwdriver: To secure the window frame.
- Caulk gun: To seal the edges of the window.
- Level: To make sure the window is installed straight.
- Window flashing: To prevent water from seeping in around the window.
- Insulation: To improve energy efficiency.
Preparing the Container
Before you install the windows, you need to prepare the container.
Cleaning
First, clean the area where the window will be installed. Remove any dirt, rust, or paint. A clean surface will ensure a better seal for the window.
Marking the Opening
Use your measuring tape to mark the exact location and size of the window opening on the container wall. Make sure the marks are straight and accurate. If you need to cut a new opening, use your saw carefully, following the marked lines.
Reinforcing the Area
Containers are made of steel, and cutting an opening can weaken the structure. You may need to reinforce the area around the opening with steel bars or brackets. This will help maintain the integrity of the container.
Installing the Windows
Now comes the fun part - installing the windows!
Placing the Window
Carefully place the window into the opening. Use a level to make sure it's perfectly horizontal and vertical. Adjust it as needed until it's straight.
Securing the Window
Once the window is in the right position, use screws to secure the window frame to the container wall. Make sure the screws are tight, but don't overtighten them as this could damage the window frame.
Sealing the Window
Apply window flashing around the edges of the window to prevent water from getting in. Then, use a caulk gun to apply a bead of caulk around the outside of the window frame. This will create a watertight seal.
Insulating the Window
To improve energy efficiency, add insulation around the window frame. This will help keep your container home warm in the winter and cool in the summer.

Testing the Windows
After the installation is complete, it's important to test the windows. Open and close them a few times to make sure they operate smoothly. Check for any drafts or leaks around the edges. If you notice any issues, make the necessary adjustments.
Benefits of Installing Windows in a Container Home
Installing windows in your movable container home has several benefits.
Energy Efficiency
Properly installed windows can significantly improve the energy efficiency of your home. They can reduce heat loss in the winter and heat gain in the summer, which means lower energy bills.
Aesthetics
Windows can enhance the overall look of your container home. They can give it a more modern and inviting appearance, making it feel like a real home.
Comfort
Natural light and ventilation provided by the windows can make your living space more comfortable. You'll feel less stuffy and more connected to the outside world.
Wrapping It Up
Installing windows in a movable container home might seem like a big task, but if you follow these steps, you'll be able to do it successfully. Remember, choosing the right windows, preparing the container properly, and taking your time during the installation process are key.
If you're interested in purchasing a movable container home or need more advice on window installation, don't hesitate to reach out. We're here to help you turn your container home dreams into a reality. Whether you're looking for a Modular Container Homes, Portable Container Homes, or Foldable Container Home, we've got you covered. Contact us today to start the conversation!
References
- "Container Home Design and Construction Guide" by Home Builders Association
- "Windows for Small Spaces" by Window Manufacturers Journal