

How to install a lighting system in a container room?
Dec 05, 2025
Leave a message
Hey there! I'm a supplier of container rooms, and I often get asked about how to install a lighting system in these nifty spaces. Container rooms are super versatile, whether you're using them as a cozy home office, a temporary living space, or a storage area. And having a proper lighting system can really transform the functionality and ambiance of your container room. So, let's dive into the steps of installing a lighting system in a container room.
Step 1: Planning Your Lighting Layout
Before you start buying any lights or tools, you need to have a clear plan for your lighting layout. Think about how you'll be using the container room. If it's an office, you'll need bright, even lighting for tasks like reading and typing. For a living area, you might want a mix of ambient, task, and accent lighting to create a warm and inviting atmosphere.

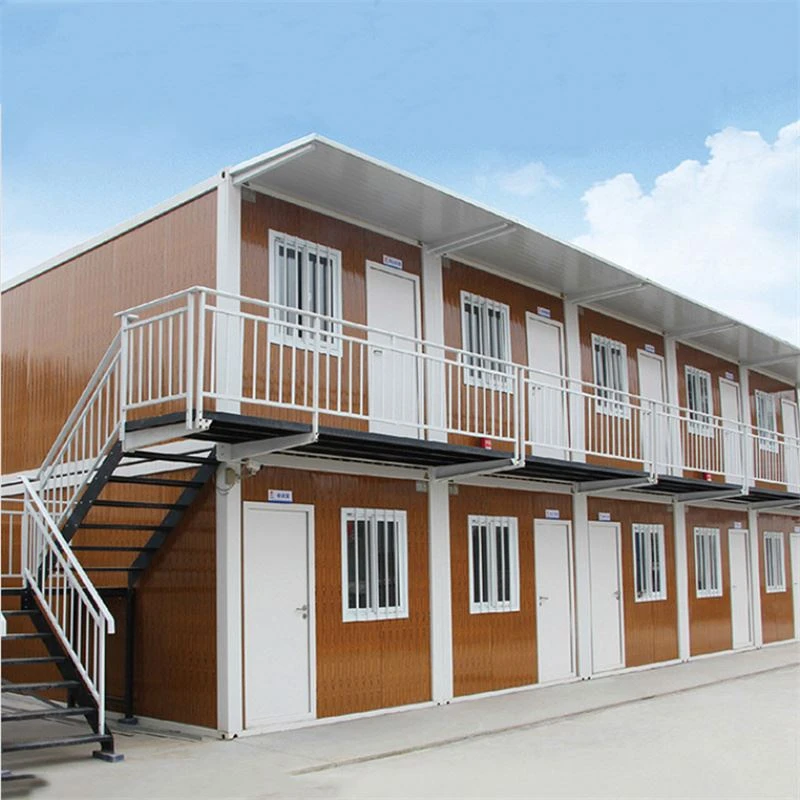
Sketch out a rough floor plan of your container room and mark where you want your lights to go. Consider the natural light sources, like windows, and how they'll interact with your artificial lighting. You don't want to create any harsh shadows or glare. Also, think about the height of your container room. Most container rooms have a standard height, but it's still important to make sure your lights are installed at the right level for optimal illumination.
Step 2: Choosing the Right Lights
Once you have your layout planned, it's time to choose the right lights for your container room. There are several types of lights to consider:
- LED Lights: These are a popular choice because they're energy-efficient, long-lasting, and come in a variety of colors and brightness levels. You can find LED bulbs, strips, and panels that are perfect for container rooms.
- Fluorescent Lights: Fluorescent lights are also energy-efficient and provide bright, even lighting. They're a good option for larger container rooms or areas where you need a lot of light.
- Incandescent Lights: Incandescent lights are the traditional type of light bulb, but they're not as energy-efficient as LED or fluorescent lights. However, they do provide a warm, soft light that can be nice for a cozy living area.
When choosing your lights, make sure to consider the color temperature. Lights with a lower color temperature (around 2700K - 3000K) will give off a warm, yellowish light, while lights with a higher color temperature (around 5000K - 6500K) will give off a cool, bluish light.
Step 3: Gathering Your Tools and Materials
Before you start installing your lights, you'll need to gather the necessary tools and materials. Here's a list of what you'll probably need:
- Screwdriver: You'll need a screwdriver to remove and install light fixtures and electrical boxes.
- Wire Strippers: Wire strippers are used to remove the insulation from electrical wires.
- Electrical Tape: Electrical tape is used to insulate and protect electrical connections.
- Drill: You'll need a drill to make holes for mounting light fixtures and electrical boxes.
- Light Fixtures: Of course, you'll need to have your chosen light fixtures on hand.
- Electrical Wire: Make sure you have the right type and gauge of electrical wire for your lighting system.
- Electrical Boxes: Electrical boxes are used to house electrical connections and protect them from damage.
Step 4: Installing the Electrical Boxes
The first step in installing your lighting system is to install the electrical boxes. These boxes will hold the electrical connections for your light fixtures. Here's how to do it:
- Mark the Location: Use your floor plan to mark the location of each electrical box on the walls or ceiling of your container room.
- Drill Holes: Use a drill to make holes in the walls or ceiling at the marked locations. Make sure the holes are the right size for the electrical boxes.
- Install the Boxes: Insert the electrical boxes into the holes and secure them with screws. Make sure the boxes are level and flush with the wall or ceiling.
Step 5: Running the Electrical Wire
Once the electrical boxes are installed, it's time to run the electrical wire. Here's how to do it:
- Plan Your Route: Use your floor plan to plan the route for your electrical wire. Make sure the wire is run in a safe and accessible location.
- Cut the Wire: Cut the electrical wire to the appropriate length. Make sure to leave some extra wire at each end for connections.
- Run the Wire: Run the electrical wire through the holes in the electrical boxes and along the planned route. Use wire staples or cable ties to secure the wire to the walls or ceiling.
- Make Connections: At each electrical box, make the necessary electrical connections. Use wire strippers to remove the insulation from the ends of the wire, and then connect the wires using wire nuts or other approved connectors. Make sure the connections are tight and secure.
Step 6: Installing the Light Fixtures
Now that the electrical wire is in place, it's time to install the light fixtures. Here's how to do it:
- Attach the Fixture: Attach the light fixture to the electrical box using screws or other approved fasteners. Make sure the fixture is level and secure.
- Connect the Wires: Connect the wires from the light fixture to the wires in the electrical box. Use wire nuts or other approved connectors to make the connections. Make sure the connections are tight and secure.
- Test the Fixture: Once the light fixture is installed and the wires are connected, test the fixture to make sure it works. Turn on the power and see if the light comes on.
Step 7: Adding Switches and Dimmers
To control your lighting system, you'll need to add switches and dimmers. Here's how to do it:
- Choose the Right Switches and Dimmers: Make sure you choose switches and dimmers that are compatible with your light fixtures and electrical system.
- Install the Switches and Dimmers: Install the switches and dimmers in a convenient location near the entrance of your container room. Use a drill to make holes in the wall and install the switches and dimmers using screws.
- Connect the Wires: Connect the wires from the switches and dimmers to the electrical wire in the wall. Use wire nuts or other approved connectors to make the connections. Make sure the connections are tight and secure.
- Test the Switches and Dimmers: Once the switches and dimmers are installed and the wires are connected, test them to make sure they work. Turn on the power and use the switches and dimmers to control the lights.
Step 8: Testing and Troubleshooting
Once your lighting system is installed, it's important to test it and troubleshoot any issues. Here's how to do it:
- Turn on the Power: Turn on the power to your container room and test each light fixture and switch. Make sure all the lights come on and the switches work properly.
- Check for Loose Connections: Check all the electrical connections to make sure they're tight and secure. Loose connections can cause problems with your lighting system, so it's important to fix them right away.
- Look for Short Circuits: Look for any signs of short circuits, such as sparks or smoke. If you notice any problems, turn off the power immediately and call a professional electrician.
Conclusion
Installing a lighting system in a container room is a great way to improve the functionality and ambiance of your space. By following these steps, you can install a lighting system that meets your needs and budget. If you have any questions or need help with your lighting system, don't hesitate to contact me. I'm a Portable Container Rooms and Prefab Container Rooms supplier, and I'm always happy to help. Whether you're looking for a simple lighting solution or a more complex system, I can provide you with the products and expertise you need. So, if you're interested in purchasing a container room or need help with your lighting installation, feel free to reach out and start a conversation. Let's work together to create the perfect space for you!
References
- "Home Electrical Wiring: A Do-It-Yourself Guide" by Black & Decker
- "LED Lighting Handbook" by Philips Lighting